
How to Pluck Your Wig Hairline for a Natural Look: A Beginner's Guide

Updated: 2 days ago
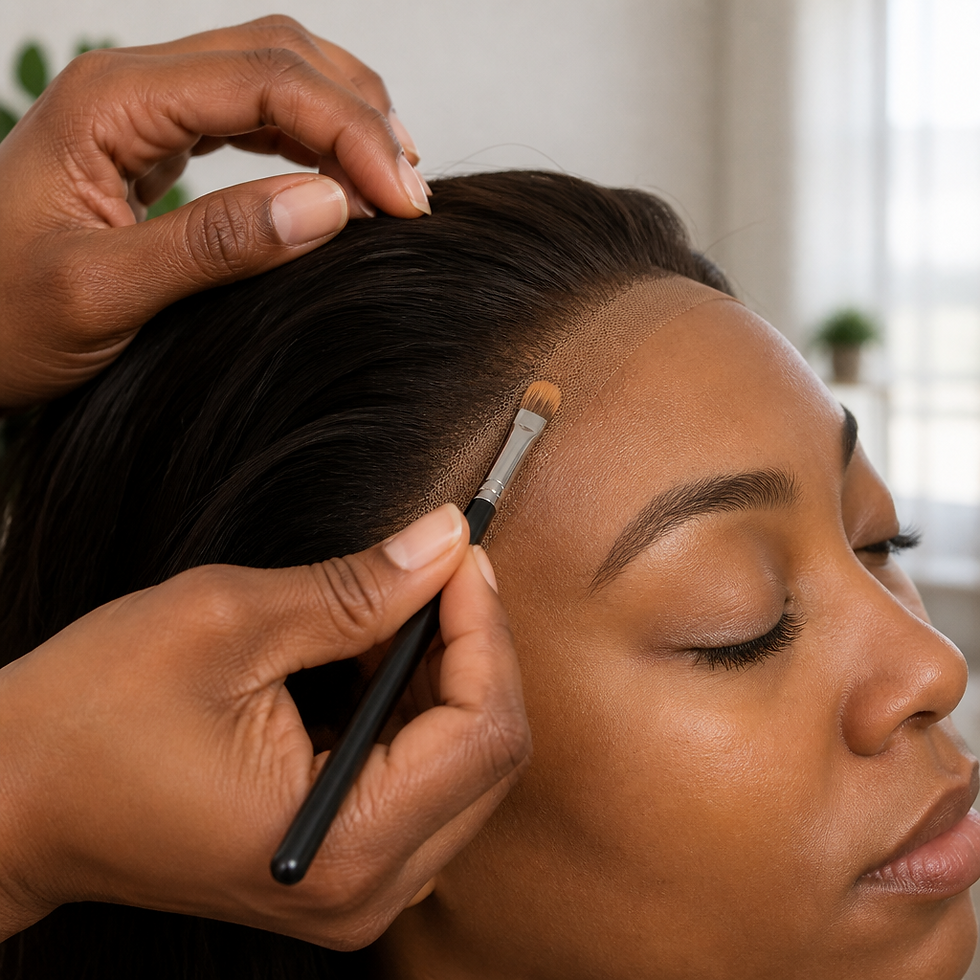
Creating a natural-looking hairline is one of the biggest differences between a wig that looks good and a wig that looks like it's growing right from your scalp. If you're new to wig customization, don't worry. With a little patience and the right technique, you can achieve a beautifully natural hairline without over-plucking.

How to Pluck Your Wig Hairline for a Natural Look: A Beginner's Guide
A realistic hairline can completely transform the appearance of your wig. Many wigs come with a dense hairline that doesn't mimic natural hair growth. Learning how to pluck your hairline properly will help create a softer, more natural look that blends seamlessly with your skin.
What You'll Need
- Tweezers
- Wig stand or mannequin head
- Rat-tail comb
- Spray bottle with water
- Hair clips
- Good lighting
- Patience!
Step 1: Secure Your Wig
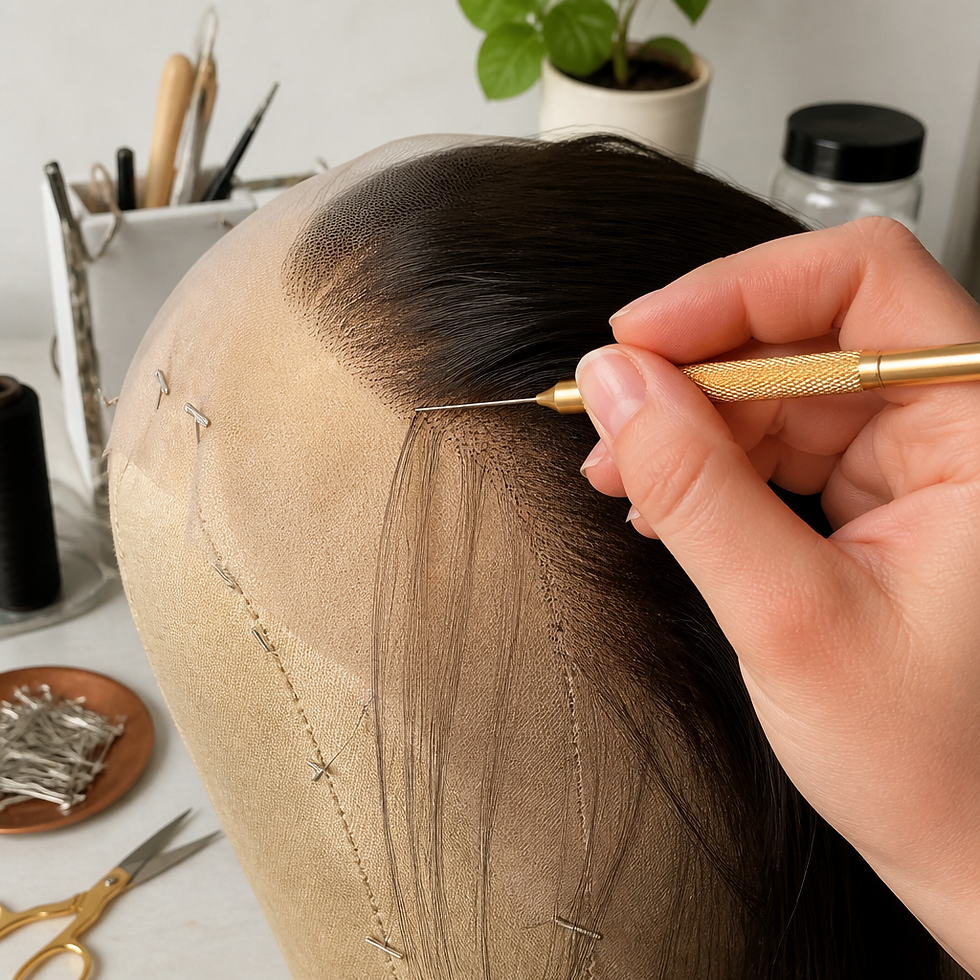
Place your wig on a mannequin head or wig stand. Secure it firmly so it doesn't move while you're working. A stable wig makes plucking much easier and more precise.
Step 2: Lightly Mist the Hairline
Spray a small amount of water along the hairline and comb the hair back. This helps you see the density and natural shape of the hairline more clearly.
Step 3: Create a Natural Hairline Shape
Before plucking, study natural hairlines. Most hairlines are not perfectly straight. They have slight irregularities and softer density around the edges.
Avoid creating harsh, symmetrical lines. The goal is natural, not perfect.
Step 4: Start Plucking Slowly
This is the most important rule for beginners:
**Less is more.**
Using your tweezers, pluck a few hairs at a time behind the hairline instead of directly at the very front edge. Work in small sections and frequently step back to check your progress.
Beginner Tip:
Pluck every few hairs rather than removing large sections at once. This creates a gradual density that looks much more realistic.
Step 5: Focus on the Temples
The temple area naturally has less density than the center of the hairline. Lightly thinning the temple areas can help create a more realistic appearance.
Just be careful not to overdo it.
Step 6: Check Your Work Frequently
After every few minutes, comb the hair back and inspect the hairline.
Remember:
- You can always pluck more.
- You cannot put the hair back once it's removed.
Taking your time will prevent common beginner mistakes.
Common Plucking Mistakes to Avoid
Over-Plucking
The number one mistake beginners make is removing too much hair too quickly.
Creating Bald Spots
Always distribute your plucking evenly throughout the section.
Making the Hairline Too Straight
Natural hairlines have variation and softness.
Rushing the Process
Realistic results come from patience and small adjustments.
Pro Tip: Customize While Wearing the Wig
Once you've completed your initial plucking, try the wig on. Sometimes the hairline looks different when worn. You may notice small areas that need additional customization for the most natural result.
Final Thoughts
Plucking a wig hairline is all about creating the illusion of natural hair growth. Start slow, work in small sections, and remember that subtle changes often produce the best results. With practice, you'll gain confidence and learn exactly how much density works best for your desired look.
At **Gigi Wigs**, we believe every wig should look effortless, natural, and beautiful. Whether you're customizing your own unit or investing in a professionally crafted wig, a natural hairline is the key to a flawless finish.
Comments